
APM: 2
Location: SR 1 and Main St, Watsonville
Reassurance shield as SR 152 traffic merges on.
APM: 3
Location: SR 1 and Airport Blvd, Watsonville
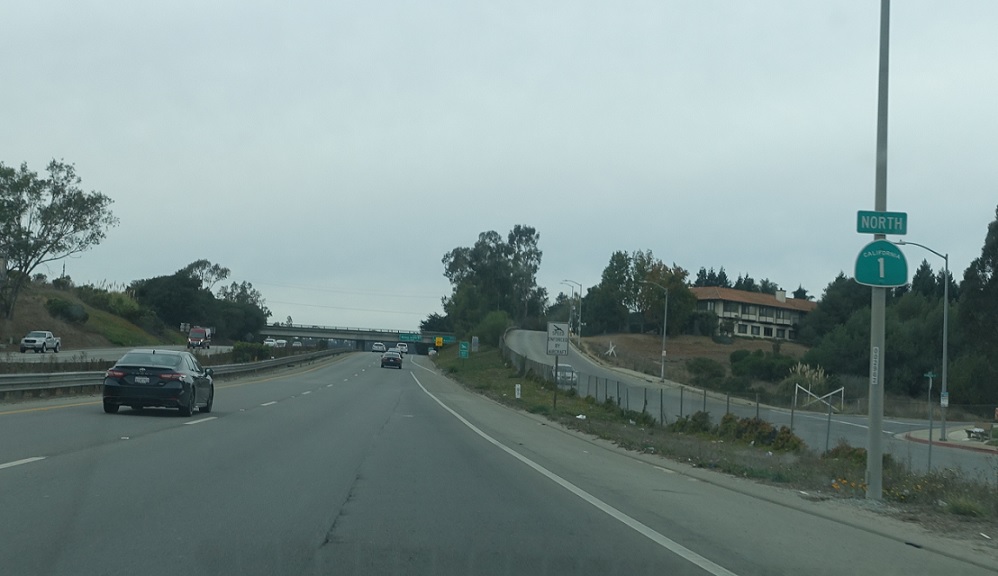
Reassurance shield after the Airport Blvd interchange.
APM: 4
Location: SR 1 and Buena Vista Dr, Watsonville
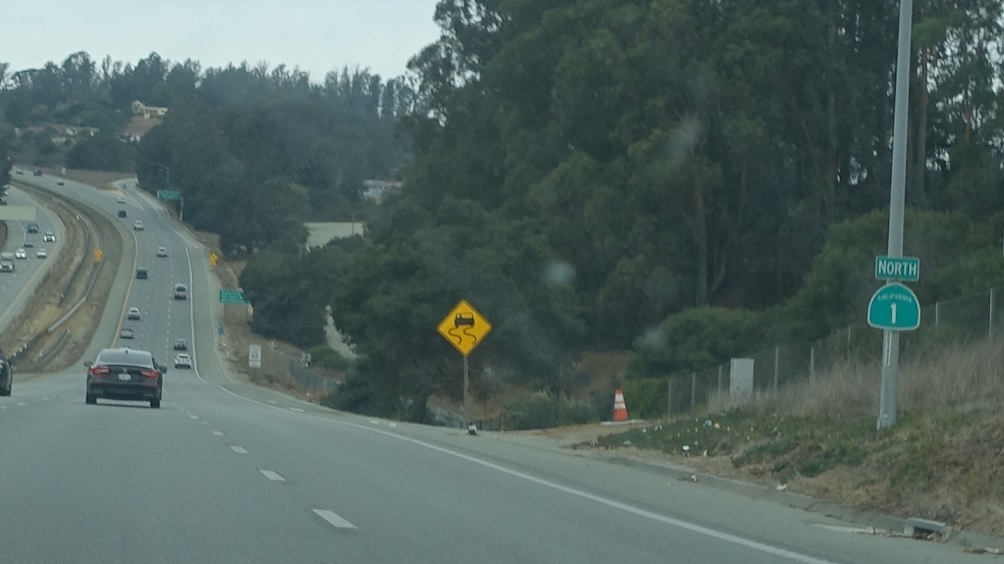
Reassurance shield after the Buena Vista Dr interchange.
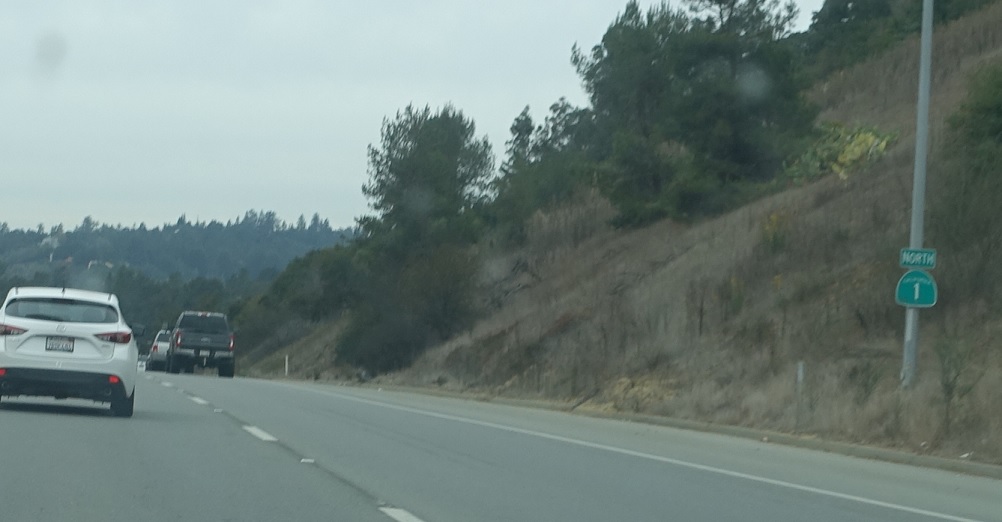
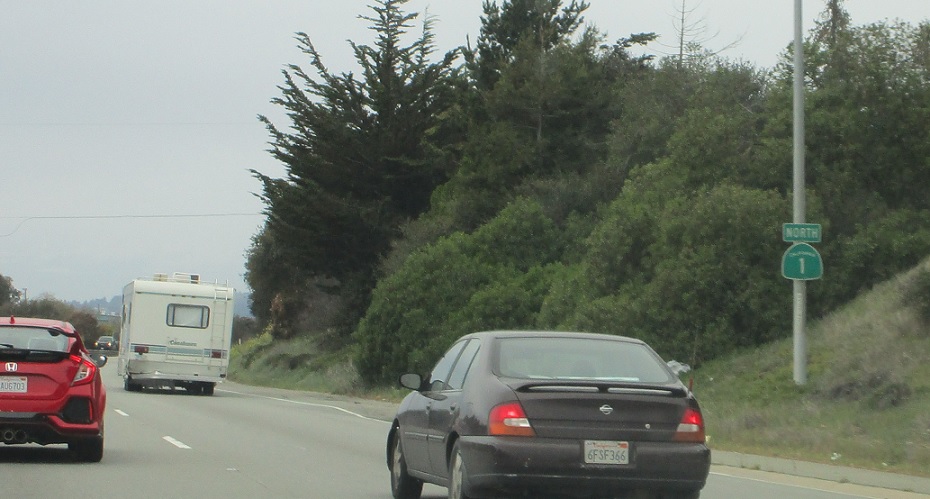
APM: 7
Location: SR 1 and Mar Monte Ave, Santa Cruz Cty
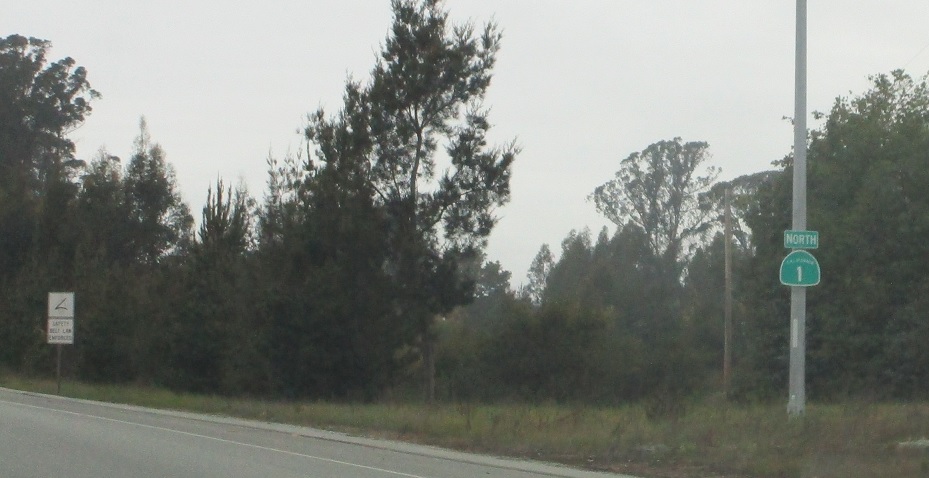
Reassurance shield after Mar Monte Ave.
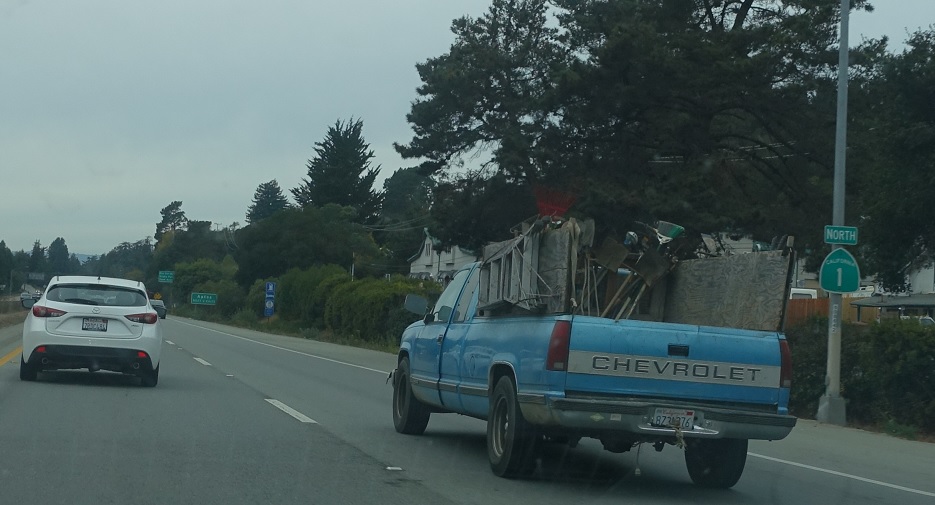
APM: 7
Location: SR 1 and San Andreas Rd, Santa Cruz Cty
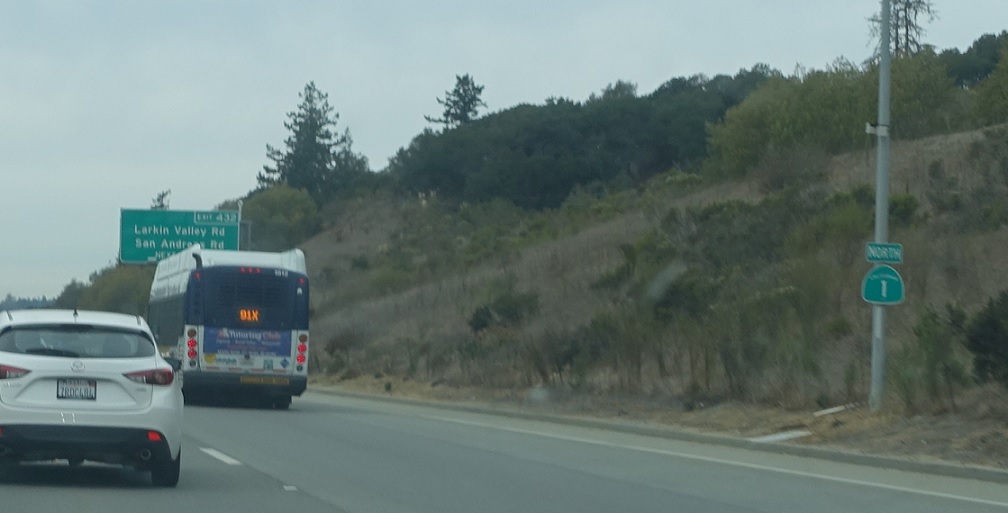
This might be the best signed stretch of SR 1 in the state.
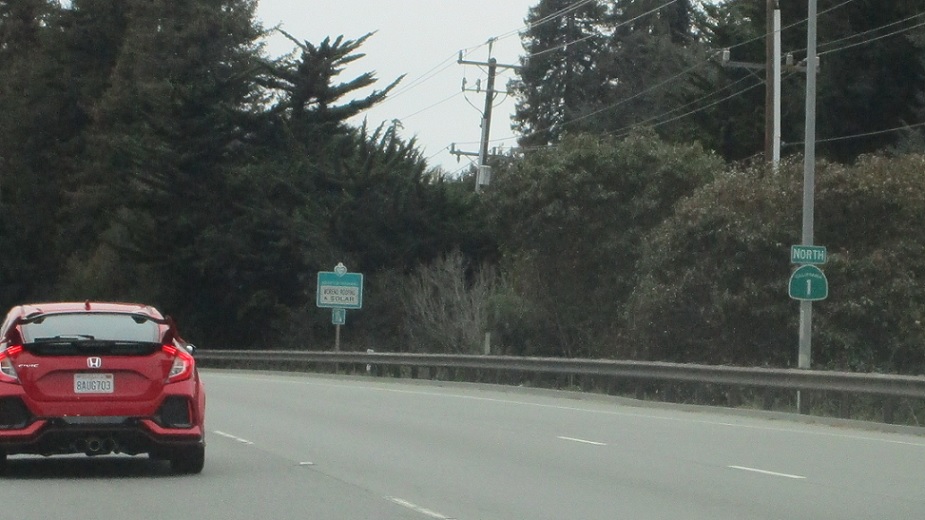
APM: 8
Location: SR 1 and Freedom Blvd, Santa Cruz Cty
Reassurance shield after Freedom Blvd
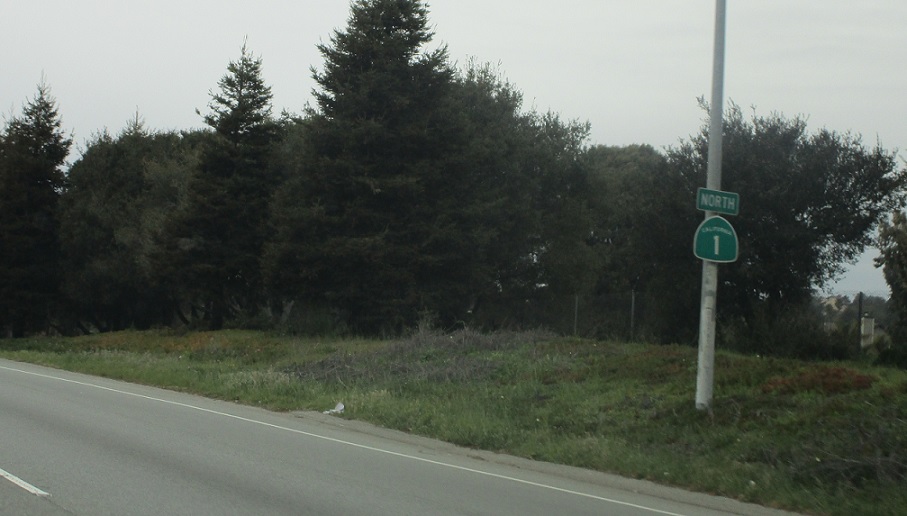
APM: 9
Location: SR 1 and Rio del Mar Blvd, Santa Cruz Cty
Reassurance shield after the Rio del Mar exit.
APM: 10
Location: SR 1 and State Park Dr, Aptos, Santa Cruz Cty
Reassurance shield after the Seacliff State Beach exit.
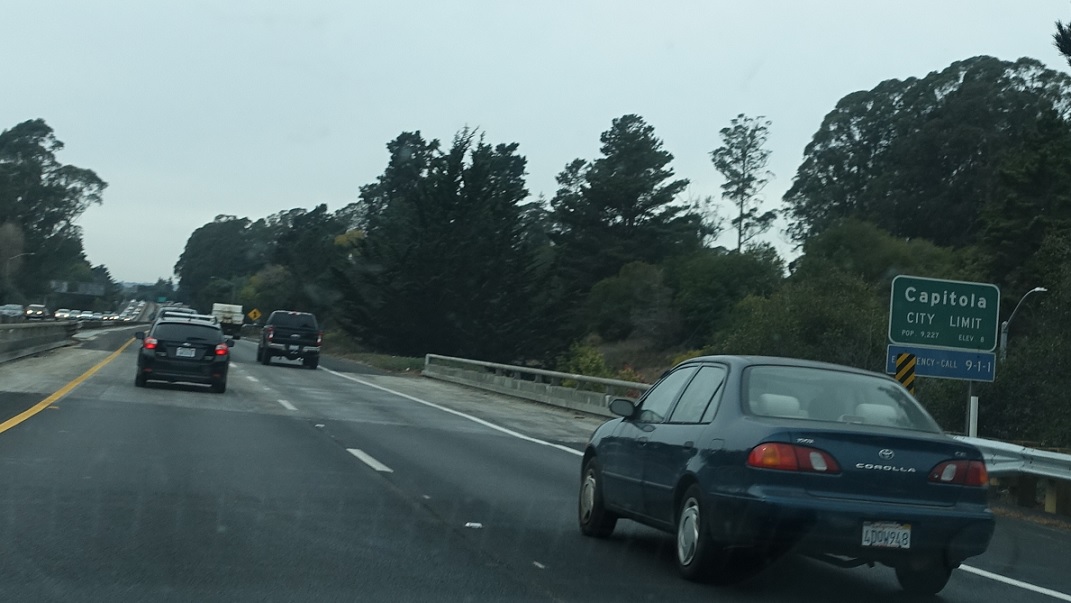
APM: 12
Location: SR 1 and Park Ave, Capitola
Welcome to Capitola!
APM: 12
Location: SR 1 and Park Ave, Capitola
Reassurance shield after the Capitola exit.
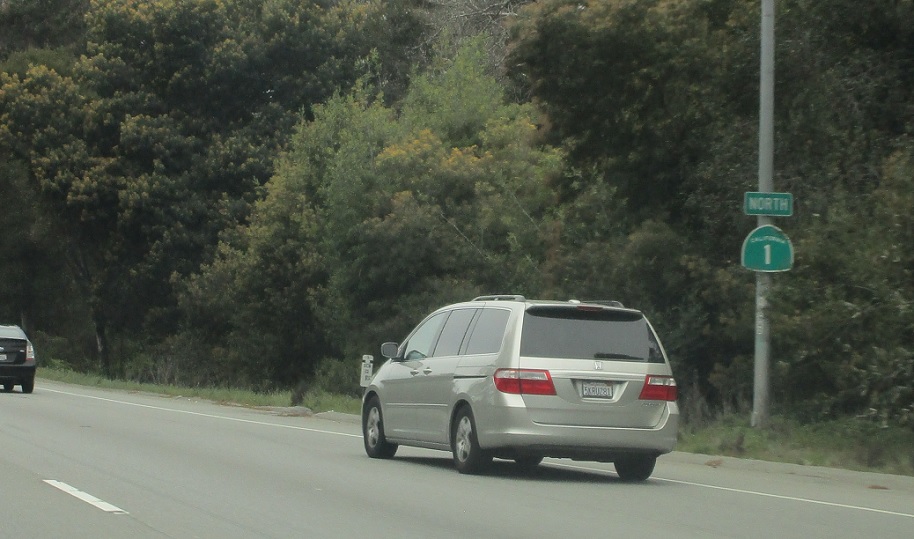
APM: 13
Location: SR 1 and Porter St, Capitola
Reassurance shield after Porter St.
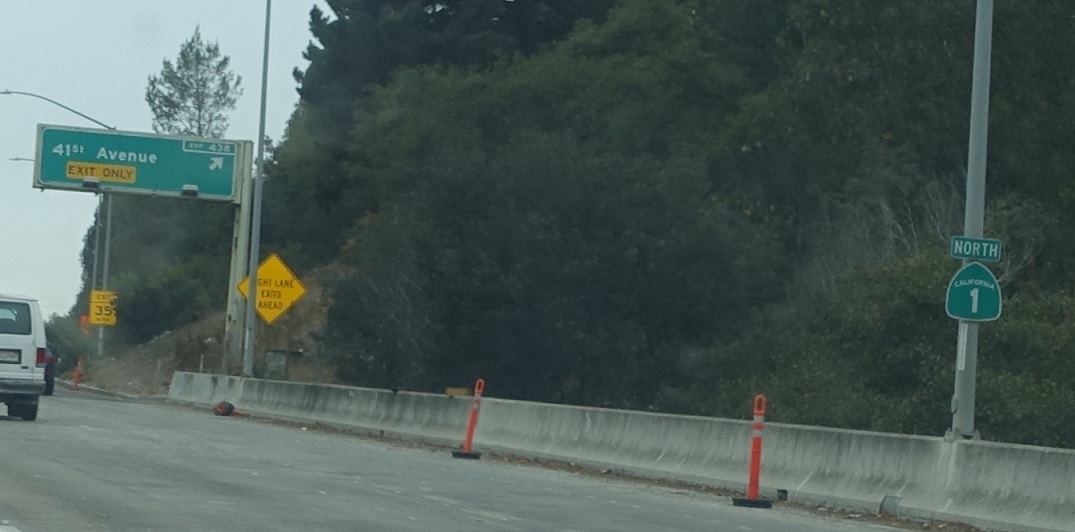
APM: 13
Location: SR 1 and 41st Ave, Capitola
Reassurance shield after 41st Avenue.
APM: 15
Location: SR 1 and Soquel Dr, Live Oak, Santa Cruz Cty
Reassurance shield after the first of two onramps from Soquel Drive.

APM: 15
Location: SR 1 and Soquel Dr, Live Oak, Santa Cruz Cty
Reassurance shield after the second Soquel Drive onramp.
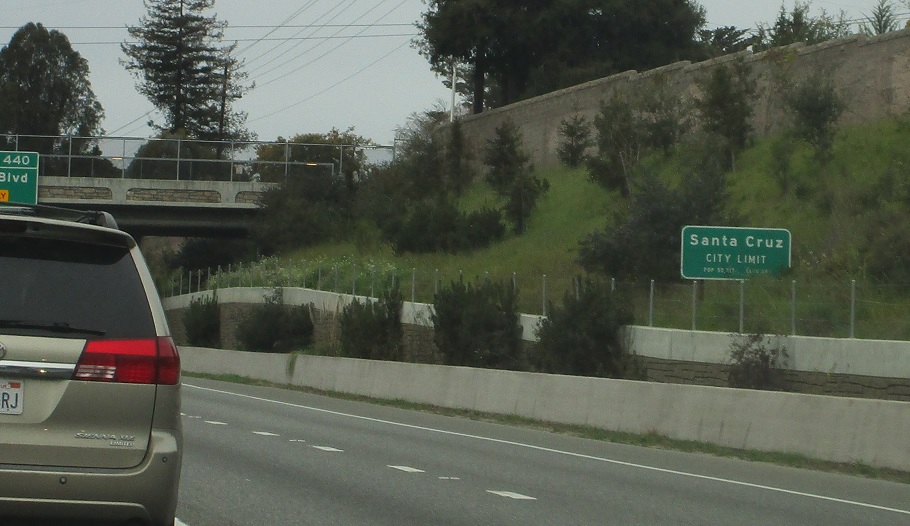
APM: 15
Location: SR 1 and Soquel Dr, Santa Cruz
Welcome to Santa Cruz!
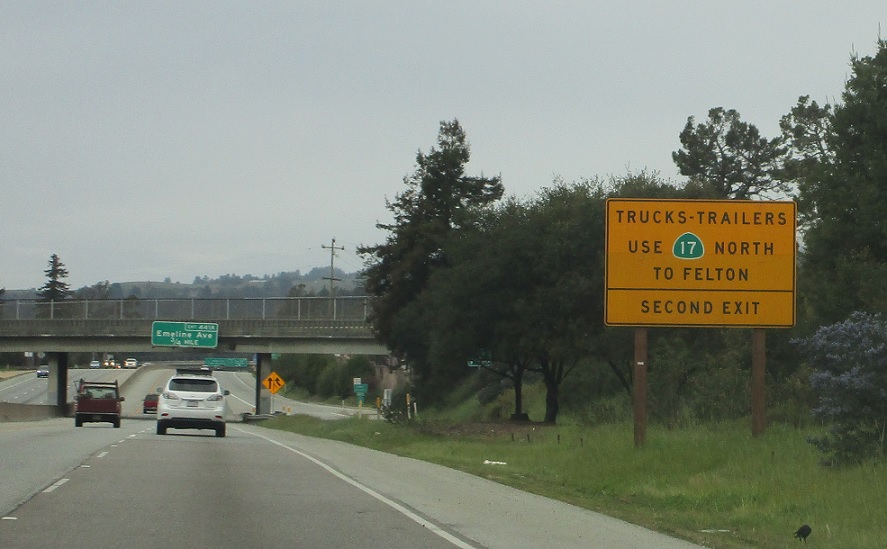
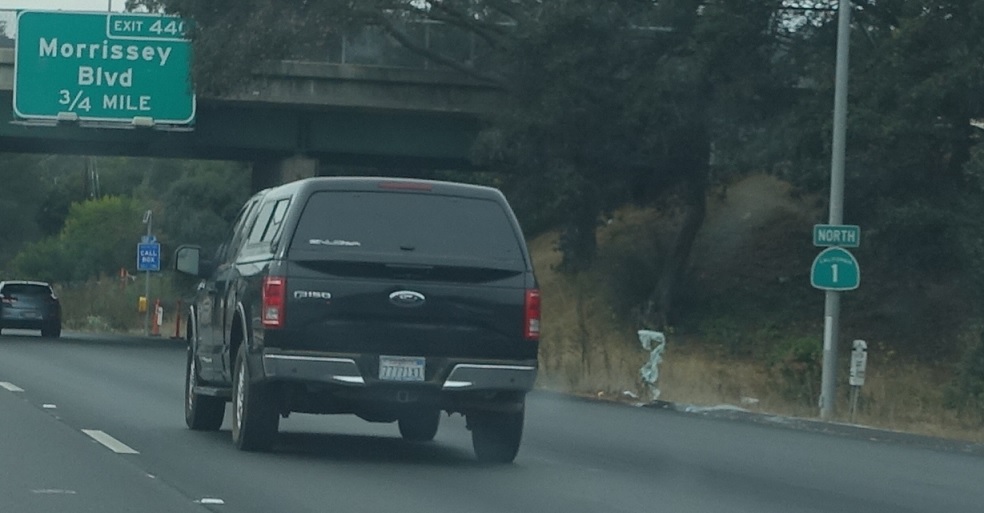
APM: 15
Location: SR 1 and Morrissey Ave, Santa Cruz
Trucks should use SR 17 north.
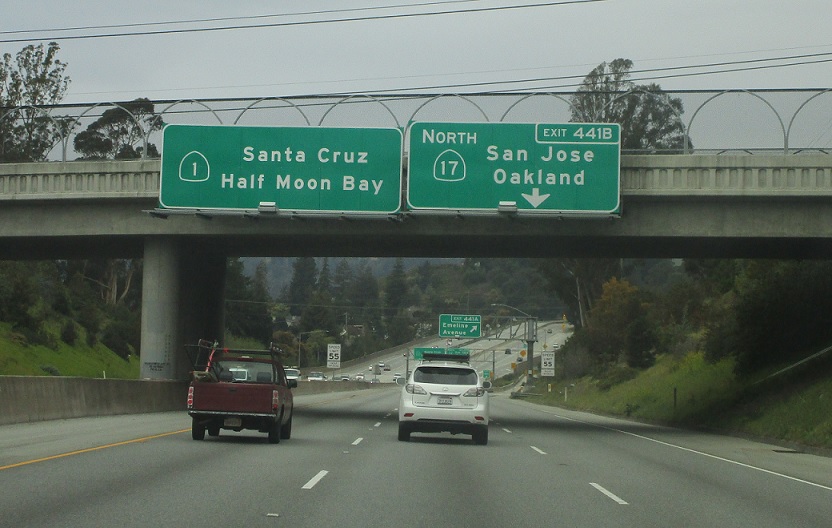
APM: 16
Location: SR 1 and Emeline Ave, Santa Cruz
Keep right for SR 17, which heads north to San Jose and onto Oakland as I-880.
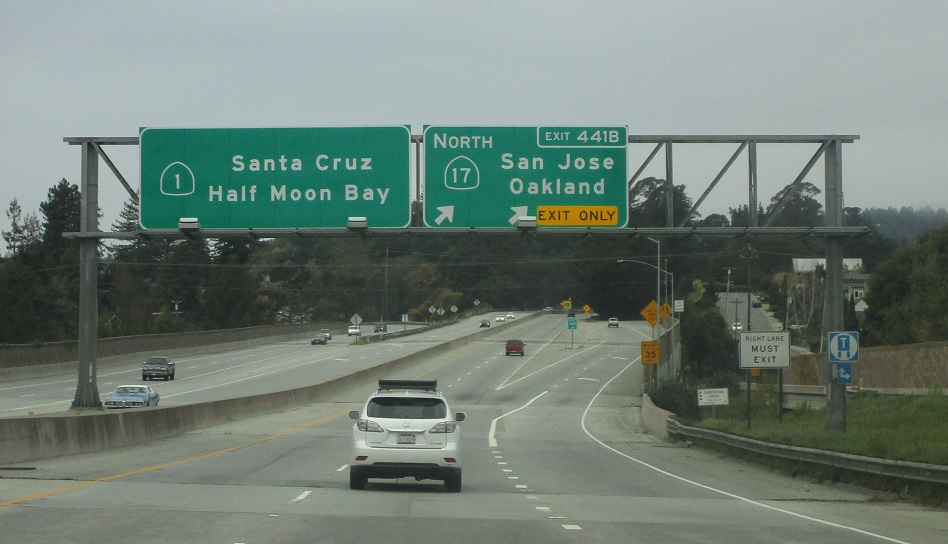
APM: 16
Location: SR 1 and SR 17, Santa Cruz
Exit for SR 17 north.


